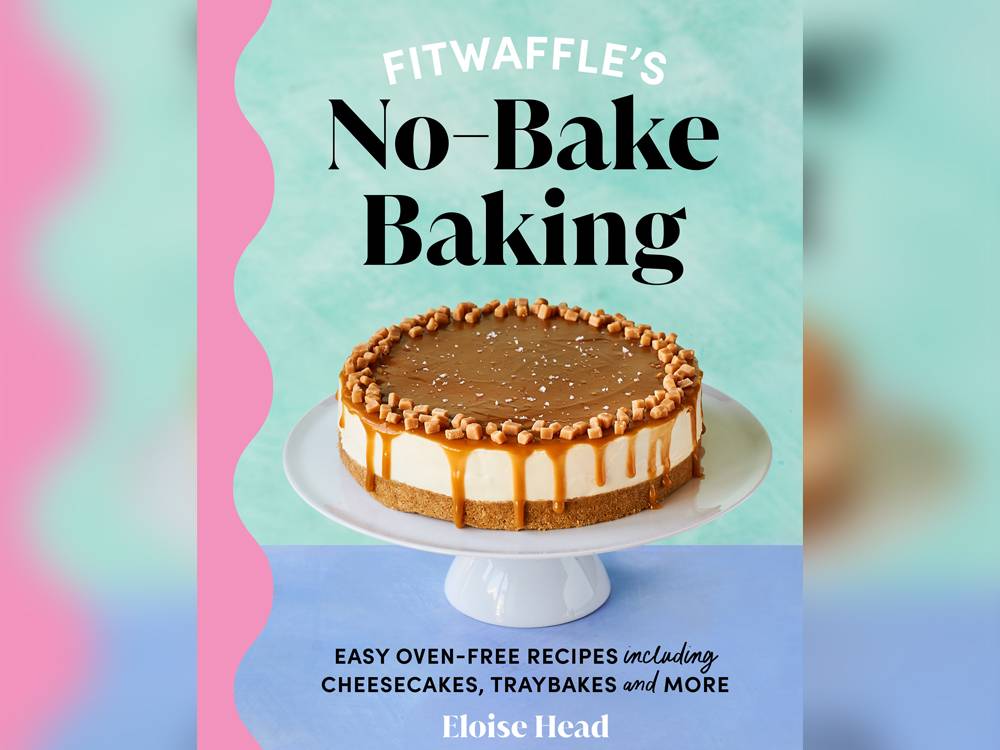
We’re sharing a taste of easy oven-free recipes from the book by Eloise Head AKA Fitwaffle who will star at Big Feastival
Microwave chocolate cake
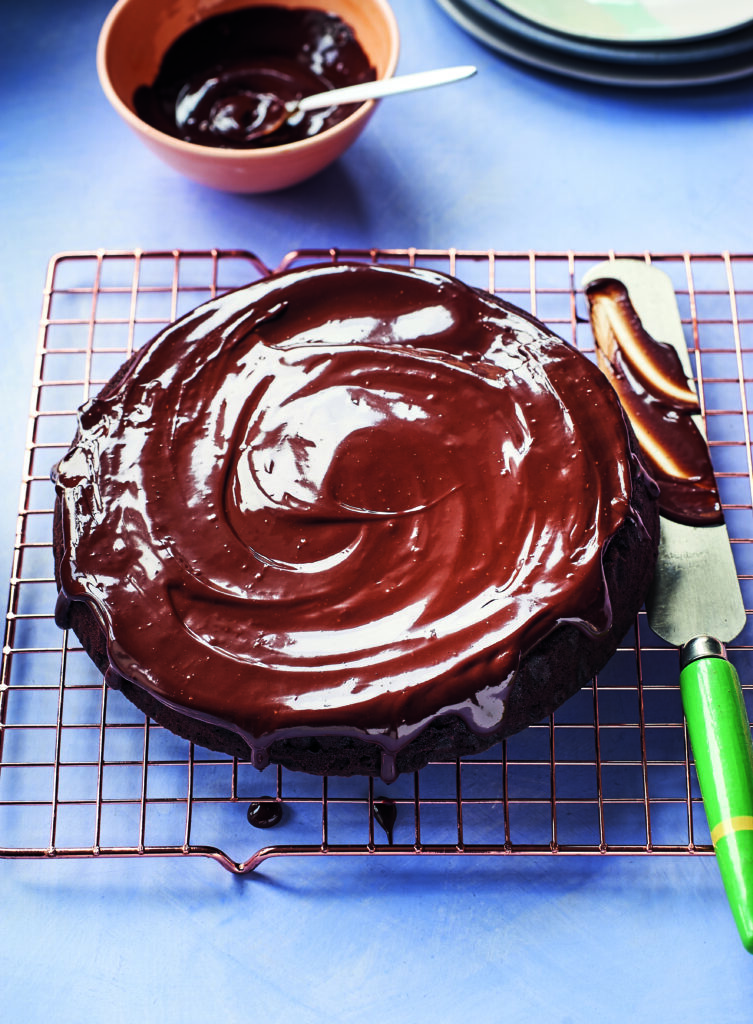
No one will ever know this cake was made in the microwave! It’s unbelievably soft and moist, topped with a rich chocolate ganache. If you want to make a cake, but don’t want to turn on the oven, this chocolate cake is perfect. Plus it’s so easy to make and you don’t even need any eggs.

Ingredients:
For the cake
• 150g (1¼ cups) plain (all-purpose) flour, heat-treated
• 100g (½ cup) granulated sugar
• 60g (8tbsp) cocoa powder
• 2 tsp baking powder
• 90g (6 tbsp) unsalted butter, melted, or 6 tbsp vegetable oil
• 380ml (scant 12/3 cups) warm water
For the topping
• 150g (5.25oz) dark chocolate, broken into pieces
• 150ml (2/3 cup) double (or heavy) cream
Method:
Cake
1. Grease and line an 18cm (7in) round microwave-safe cake mould with non-stick baking paper.
2. In a large mixing bowl, mix together the flour, granulated sugar, cocoa powder and baking powder using a balloon whisk until combined.
3. Pour in the melted butter or vegetable oil and warm water and beat until runny and smooth.
4. Pour the batter into your cake mould.
5. Microwave on medium heat for 5-6 minutes until a toothpick inserted into the centre of the cake comes out with a few moist crumbs on it. Check the cake about 1 minute before you think it’s cooked. If you overcook it, it can become dry and rubbery.
Topping
6. Put the chocolate and cream into a microwave-safe jug or small mixing bowl and microwave on medium for 1 minute 20 seconds. Leave to stand for 1 minute, then stir gently until smooth and combined.
7. Transfer to a serving plate and pour the ganache over the cooled cake, letting it drip over the edges slightly, and smooth it out.
8. Let the ganache set at room temperature, then cut into 8 slices and serve. Enjoy!
9. Store in an airtight container in the refrigerator for up to 4 days. If eating the cake after it’s been in the refrigerator, leave at room temperature for at least 30 minutes before serving.
Strawberries and cream cheesecake bars
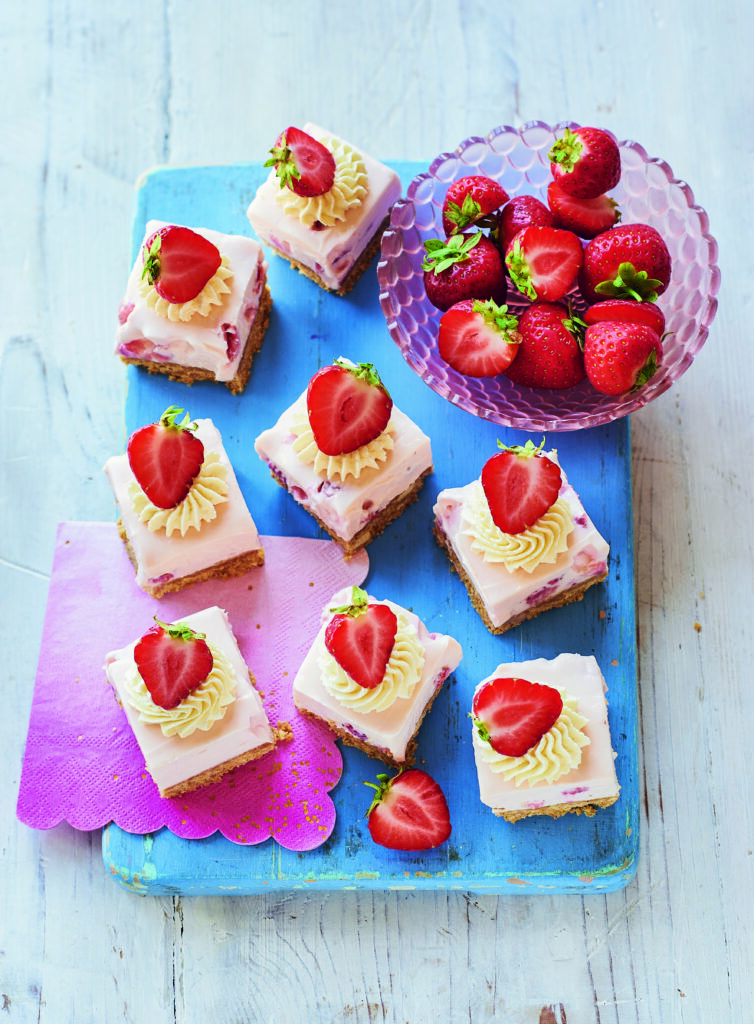
These cheesecake bars are fresh and fruity and so creamy and delicious. They have a buttery biscuit base, a creamy cheesecake filing packed with strawberries, topped with whipped cream and fresh strawberries. Perfect for a summer barbecue.

Ingredients:
For the base
• 250g (9oz) digestive biscuits (or graham crackers)
• 100g (3.5oz) unsalted or salted butter, melted
For the filling
• 500g (1lb) full-fat cream cheese, at room temperature
• 150g (1¼ cups) icing (powdered) sugar
• 1 tsp vanilla extract
• Pink food colouring (optional)
• 100g (3.5oz) fresh strawberries, diced
For the topping
• 200ml (scant 1 cup) cold double (or heavy) cream
• 8 fresh strawberries, halved, to decorate
Method:
For the base
1. Line a 20cm (8in) square baking tin with non-stick baking paper.
2. Put the biscuits into a food processor and process until finely crushed. Alternatively, put them into a plastic bag and crush with a rolling pin. Tip into a medium mixing bowl, then pour in the melted butter and mix with a spoon until fully combined.
3. Press the mixture firmly into the bottom of your prepared tin with the back of a spoon, then pop into the refrigerator while you make the filling.
For the filling
4. In a large mixing bowl, beat together the cream cheese, icing (powdered) sugar, vanilla extract and pink food colouring, if using, with an electric hand mixer until smooth, then fold through the diced strawberries.
5. Remove the chilled base from the refrigerator, then spoon on the filling, smoothing it out to the edges.
6. Chill in the refrigerator for at least 4 hours, or overnight, until completely set. Cut into squares.
For the topping
7. Whip the cream with an electric hand mixer to stiff peaks. Pipe the whipped cream in a swirl on top of each square. Place half a strawberry into the whipped cream, as shown in the photo, for decoration. (I find it easiest to do the topping after the cheesecake has been cut into squares).
8. Store in the refrigerator for up to three days.


Comments