


Food & Recipes
TOP STORIES

“Guilty” pleasures at Six By Nico
We try a sneaky preview of the new menu at Six by Nico on Oxford’s Westgate Roof Terrace, launching on 11th August and available for diners until 1st September.
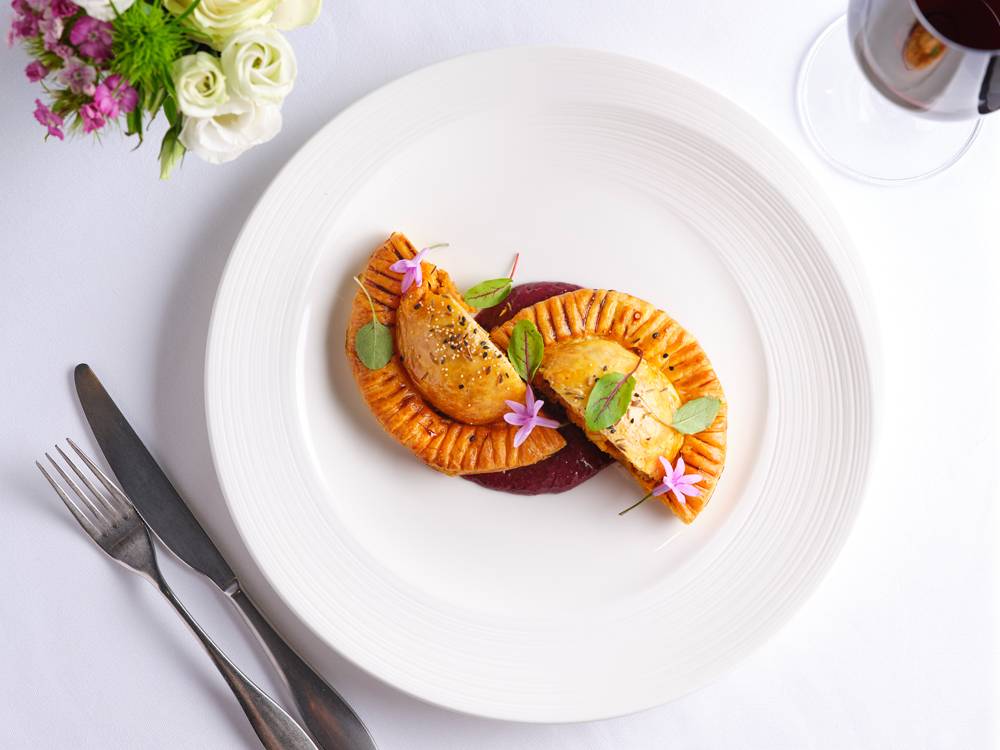
Atul Kochhar’s Chicken Tikka Pie recipe
Atul Kochhar, star of our second Spotlight podcast, shares the recipe for the delicious pie he cooked up for Angela Walker.

Cowley road eatery launches breakfast menu
An Oxford restaurant is launching a new South Indian breakfast menu as it continues to expand its offerings after a successful launch earlier this year.

Riverside reverie at Swan at Streatley
With its location on (possibly) the most gorgeous stretch of the Thames, alfresco Lobster Bar, outdoor cinema and plenty of options for messing about on the river, this Coppa Club gem is giving us Made in Chelsea vibes (in the best way).

Emily Kerrigan’s Gluten-Free Kitchen Recipes & competition
We share fuss-free food inspiration from The Gluten-Free Kitchen by registered nutritionist Emily Kerrigan from Thame, published by Vie, £10.99.

How Coeliac disease inspired Emily’s cookbook
Mum & nutritionist Emily Kerrigan tells us how her daughter’s illness inspired her to help others, and shares her local foodie faves, including gluten-free goodies.

Giles Luckett’s European wine tour
Our resident wine columnist Giles Luckett recommends his selection of European fine wines on his European wine tour.

Toast to The White Oak, Cookham!
Cookham’s newest pub, The White Oak, has summer fun in store, including bottomless brunch and live music. We raise a toast to the pub along with manager Luke Weston.

Amalfi Experience at Six by Nico
Six by Nico in Oxford is a culinary gem that brings a refreshing and innovative dining experience to Oxford’s vibrant food scene. Ellie Cox went along to try out their new six-course tasting menu, embracing La Dolce Vita.
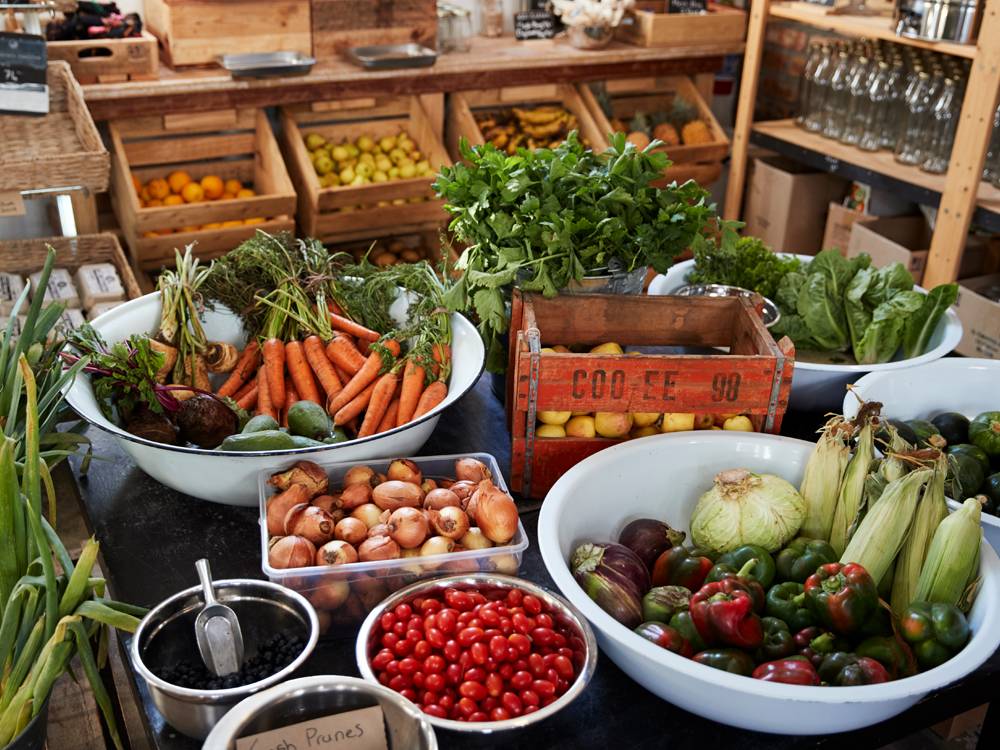
Fresh & fabulous farm shops
Summer is the perfect season to sample the fare and flavours at your local farm shop, not only are you shopping local supporting homegrown growers but you’ll be helping the environment too.

Paul Clerehugh’s Goosebury Crumble
Crooked Billet’s Paul Clerehugh shares his Gooseberry Crumble recipe with Round & About readers.
No posts found
No posts found
No posts found
No posts found

ABOUT US
Over the Years

2025
Round & About now have 31 editions reaching over 620,000 homes each month
22 employees, and over 600 businesses advertising each month
2019
The team won gold for Commercial Team of the Year and Regional Media Brand of the Year
at the British Media Awards 2019
2016
Round & About held
the first of two SO
Food Festivals
in Wallingford in September